Final part of the texturing process and I want to focus on a single point, but which is very important, the "Normal Maps"
A 3D model cannot afford to add very small details, since that would imply more polygons and apart from making the model heavier, this would cause problems when animating it (I think videogames are the perfect example)
The Normal ones are images/textures that are in charge of adding that detail to the model, it does not modify the polygons, it is more of an "illusion"
Unlike the images for roughness, metallic and those things, the normal ones work based on 3 colors and depending on how they are positioned, the light that bounces off the model will take that information and will react differently
But there is a problem, even though I know what the colors of a normal are, it is impossible for me to recreate the textures of the model and paint them so that they become Normals
Luckily there are web pages that convert any image and turn it into a Normal (although in the end I end up using the Krita program that has that function)
I can't create a Normal, but I can create an image with the information and details that I want and then transform it into Normal, so I came up with what you see in the first image below, using a neutral gray as a base, I use the white as what goes out or black as what goes in, and as you can see in that image the experiment worked as I wanted
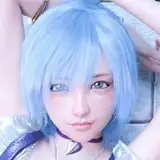
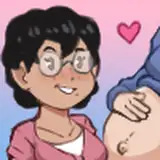
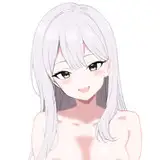
So I recreated Leah's textures painting the details I wanted, the color, roughness and specular textures are 2K, I made the Normal ones 4K because detail is very important
Then I previewed those images in the model to make corrections, I converted the gray images to Normal in Krita and uploaded them to the model
The Normals are as fantastic as they are problematic, as they work with light, coordinates and number things, they tend to give problems and a novice like me gets headaches, luckily I have had enough time to investigate in order to have those bugs fixed
If you see the image with the group of nodes, the lower part is very long, since in addition to the Normal and the nodes that it needs for it to work well (4) I added something that I learned recently, create a procedural texture of noise and I combined it with the Normal one, that noise makes the skin not so flat and simulates that texture, although later I decided to change the noise node for a repeatable skin texture (a texture that if you place it in a loop the edges fit perfectly ), as the noise node made it too heavy and not worth it for subtle detail
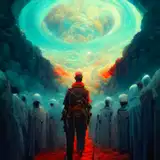
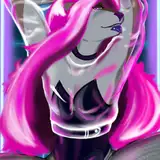
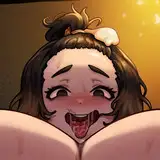
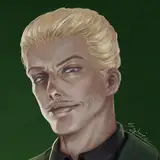
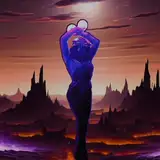
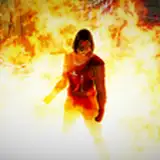
I can only say that you see the zooms and the 2 renders (main and last image below), all except the main image have the normal ones plus the noise node, every small detail you see is thanks to the Normal, the main image of the post was after correcting the noise node and changing it to the repeatable texture, also there I made that repeatable texture not apply to nails, eyebrows and eyelashes, since that is not skin and it would not make sense
I also have to say that after making all these images I adjusted the normal ones, it was just smoothing some parts, nothing complex
And with that we finish for the moment with the body, the next thing is to texturize the other that is modeled, eyes, teeth and tongue, so that is going to be simpler, faster and here it is going to be less text, since the process is going to be essentially the same
Then it would be:
-model everything else, hair (which worries me a bit), clothes, some other little thing,
-Texturize everything
-Adjust final mesh details
-Rigging