Process - Pardoner Fennel
Added 2016-11-01 06:05:05 +0000 UTC
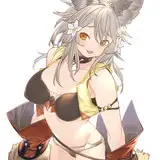
Hey everyone! So this is a breakdown of my Pardoner Fennel redesign piece.
I've broken it down to 7 steps, but a lot of it was just blending shapes out. I've explained things below;
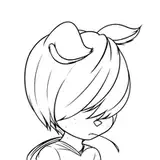
- 1. Sketch! First and foremost, the rough sketch comes first. I generally keep it loose, since I tend to get very tight with rendering, and things tend to get less dynamic. I usually set it to Colour Burn after sketching so that it blends somewhat with the actual colours of the piece.
- 2. Value study! Not always necessary, but in this case I had a clear idea of where I wanted the primary light source to be. So I did a quick greyscale underpainting to figure that out.
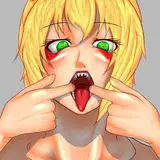
- 3. Base colours! With this piece, I actually wanted her to look a lot less cute, as evidenced by her face. At this stage, have as much contrast as you can; it's easy to dial it down later, but you need clearly distinguished shadow shapes at this stage.
- 4. Rendering! Start painting out your major shapes! I'm normally a stickler for keeping details present, but in this case, it's more of a hindrance than a benefit to keep edging around your shapes.
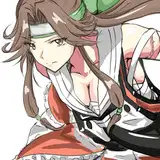
- 5. More rendering! At this stage, I started to add in the other coloured parts (such as the trim on her shawl and her ribbon).
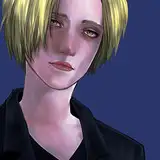
- 6. Even more rendering! I also added some extra accessories to fill out the space but also to direct the image a bit more. I also felt that the transition at the bottom of her skirt was too jarring, so I softened it out a bit.
- 7. The final stage! I added post-processing effects and some slight colour correction, and I also placed a texture on top. I liked the original tones so I didn't want to change them too much.
Overall, it was a pretty straightforward process! I added things as I went, so I did stray from the plan a little bit, but it was for the better. If you have any questions, please let me know!


![[INVALID]](https://nokimo.com/istorage/59813.jpg)