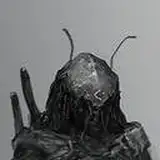
This one's a doozy!! I developed a new background workflow and got to try my hands at a first piece of merch, and it was a lot more work than I thought it'd be. I learnt a ton though, and from now on I will definitely stick to a 32-bit workflow for my paintings. I've used it before, but it's quite resource heavy and removes a lot of options you have in 8-bit mode - but there are workarounds.
Most of all, there are some significant benefits (that if requested I can post more about!):
Colour blending is BEAUTIFUL in 32-bit mode, and really helps you keep colours alive. You can paint an over-exposed and blown out bit of light and then work over it, still retaining a lot of the colour information and "life" without it going dull.
For the background I started with a 3d kit I had laying around, edited it with some modelling, lit it and rendered out into an HDR image. Just simple lambert shaders, no real texturing done. All that I did in the photoshop passes - and since it's HDR I can just slap down a painted texture.
I decided to go for a curvilinear-feeling perspective because I reckon it might help with the illusion of peering into a real scene. Check my little movie example scene to see what I mean!
All the props are simply hand-painted in separate files and then linked into a reference scene where I check how and things fit, just to help visualise how the work I am doing fits in. An enormous amount of work, but really interesting and I learnt a TON to bring with me into future paintings.
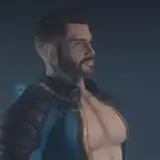
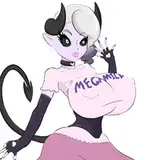
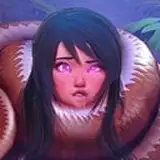
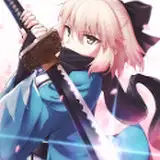
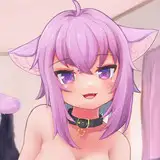
I JOKED ABOUT PUTTING NIK IN UNDERWEAR (cos I have a crush on him) AND THEY SAID GO FOR IT WE'LL MAKE IT DOUBLE-SIDED!!!!!!
Gael
2023-07-31 13:12:53 +0000 UTC