![PSD Data distribution [Selfie Mumei]](https://img5.nokimo.com/storage/8/he/xf/fb3178-019e9062-4a47-7623-99ce-8bdc943c78cc.png)
![PSD Data distribution [Selfie Mumei]](https://img5.nokimo.com/storage/7/ii/rv/fb3178-019e9062-4a47-79f0-837b-4f6f5eadaf52.png)
![PSD Data distribution [Selfie Mumei]](https://img5.nokimo.com/storage/8/uo/hm/fb3178-019e9062-4a48-7467-ac30-1c96f92a8a1e.png)
![PSD Data distribution [Selfie Mumei]](https://img5.nokimo.com/storage/7/um/gz/fb3178-019e9062-4a4a-7aa5-9613-6c502c9c56ce.png)
![PSD Data distribution [Selfie Mumei]](https://img5.nokimo.com/storage/8/cv/hu/fb3178-019e9062-4a4f-71d6-a16d-a99990720d55.png)
![PSD Data distribution [Selfie Mumei]](https://img5.nokimo.com/storage/2/jz/wg/fb3178-019e9062-4a57-76ff-a13c-4a4da7b4d326.png)
![PSD Data distribution [Selfie Mumei]](https://img5.nokimo.com/storage/3/no/xb/fb3178-019e9062-4a58-7bb8-b3eb-1db10a44aa6c.png)
![PSD Data distribution [Selfie Mumei]](https://img5.nokimo.com/storage/12/pq/op/fb3178-019e9058-d74e-74ce-b9b9-c1c5fc133f75.jpg)
![PSD Data distribution [Selfie Mumei]](https://img5.nokimo.com/storage/7/jk/vh/fb3178-019e9058-d750-7d87-8336-33df904f7409.jpg)
![PSD Data distribution [Selfie Mumei]](https://img5.nokimo.com/storage/10/my/gm/fb3178-019e9058-d752-7e18-a3e7-60c9c74b3ecb.jpg)
![PSD Data distribution [Selfie Mumei]](https://img5.nokimo.com/storage/1/km/pw/fb3178-019e9058-d754-7a7d-84a5-a45e6f65c8d7.jpg)
![PSD Data distribution [Selfie Mumei]](https://img5.nokimo.com/storage/2/ma/kq/fb3178-019e9058-d757-713d-a9ba-5b4764da194d.jpg)
![PSD Data distribution [Selfie Mumei]](https://img5.nokimo.com/storage/7/bz/cp/fb3178-019e9058-d759-7e7d-ba55-09f2e4582e35.jpg)
![PSD Data distribution [Selfie Mumei]](https://img5.nokimo.com/storage/12/hc/yu/fb3178-019e9058-d75a-79e8-881c-668db730a9c8.jpg)
![PSD Data distribution [Selfie Mumei]](https://img5.nokimo.com/storage/10/ag/nq/fb3178-019e9058-d75b-71b4-8156-429b403d12d2.jpg)
![PSD Data distribution [Selfie Mumei]](https://img5.nokimo.com/storage/6/yc/dv/fb3178-019e9058-d75b-728f-b951-6ed70adba671.jpg)
![PSD Data distribution [Selfie Mumei]](https://img5.nokimo.com/storage/12/zo/zj/fb3178-019e9091-bf5f-7a76-83c0-1ca673cfdd92.png)
![PSD Data distribution [Selfie Mumei]](https://img5.nokimo.com/storage/4/kk/sl/fb3178-019e9058-d75b-7258-bf41-0a469f3bd757.jpg)

This article is about the making process of [Selfie Mumei]
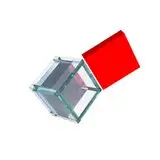
I will be using 3D model provided by Scottie-sensei.
I'm making the draft as simple as possible to save my time drawing with only using two different color layer for body and clothes/hair.
Line is drawn according to draft layer above. I am using modified default G-PEN.
By using this tool, the line drawing layer is set as the reference layer. Simply draw around the layer to create a base layer.
Line drawing is now complete.
I paint each layer with color. I want to focus on the chest and face, so these are the two areas I want to add the most detail to.
Using a layer mask, you can create the impression of eyes behind the hair!
After painting the eyes, place highlights around the head and chest, and a secondary highlight around the hips.
Linear light allows you to apply highlights using grayscale.
I got all my coloring brushes from here. Thank you Scottie-sensei!
From here, paint the shadows and secondary highlights using the "Multiply" and "Overlay" effects.
Once you've completed this, I recommend adding a hair layer called [Para Hair]. This will add more detail to the head area.
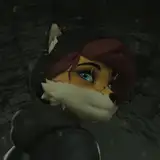
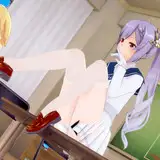
I'm still not very good at drawing backgrounds, so I draw a simple silhouette of a window in the background.
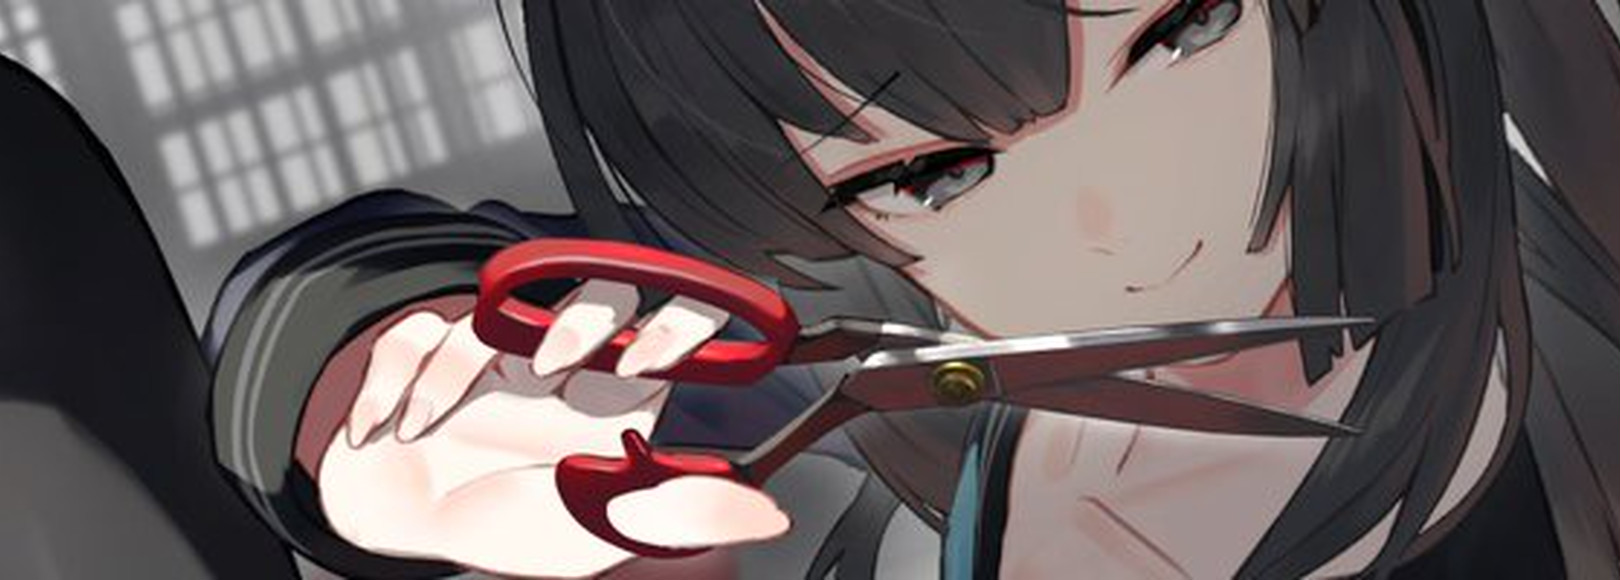
All done~


