


Hello!
I'll explain how I organize my scenes in CharaStudio, to make management easier for you FANS! (Thanks for supporting me, from the bottom of my heart!)
(Last Update on October 19th, 2022 12:20)
It is a Normal Scene, which consists of one or more characters in a location, and there may be more than 1 camera. Camera change is done with Timeline MOD.
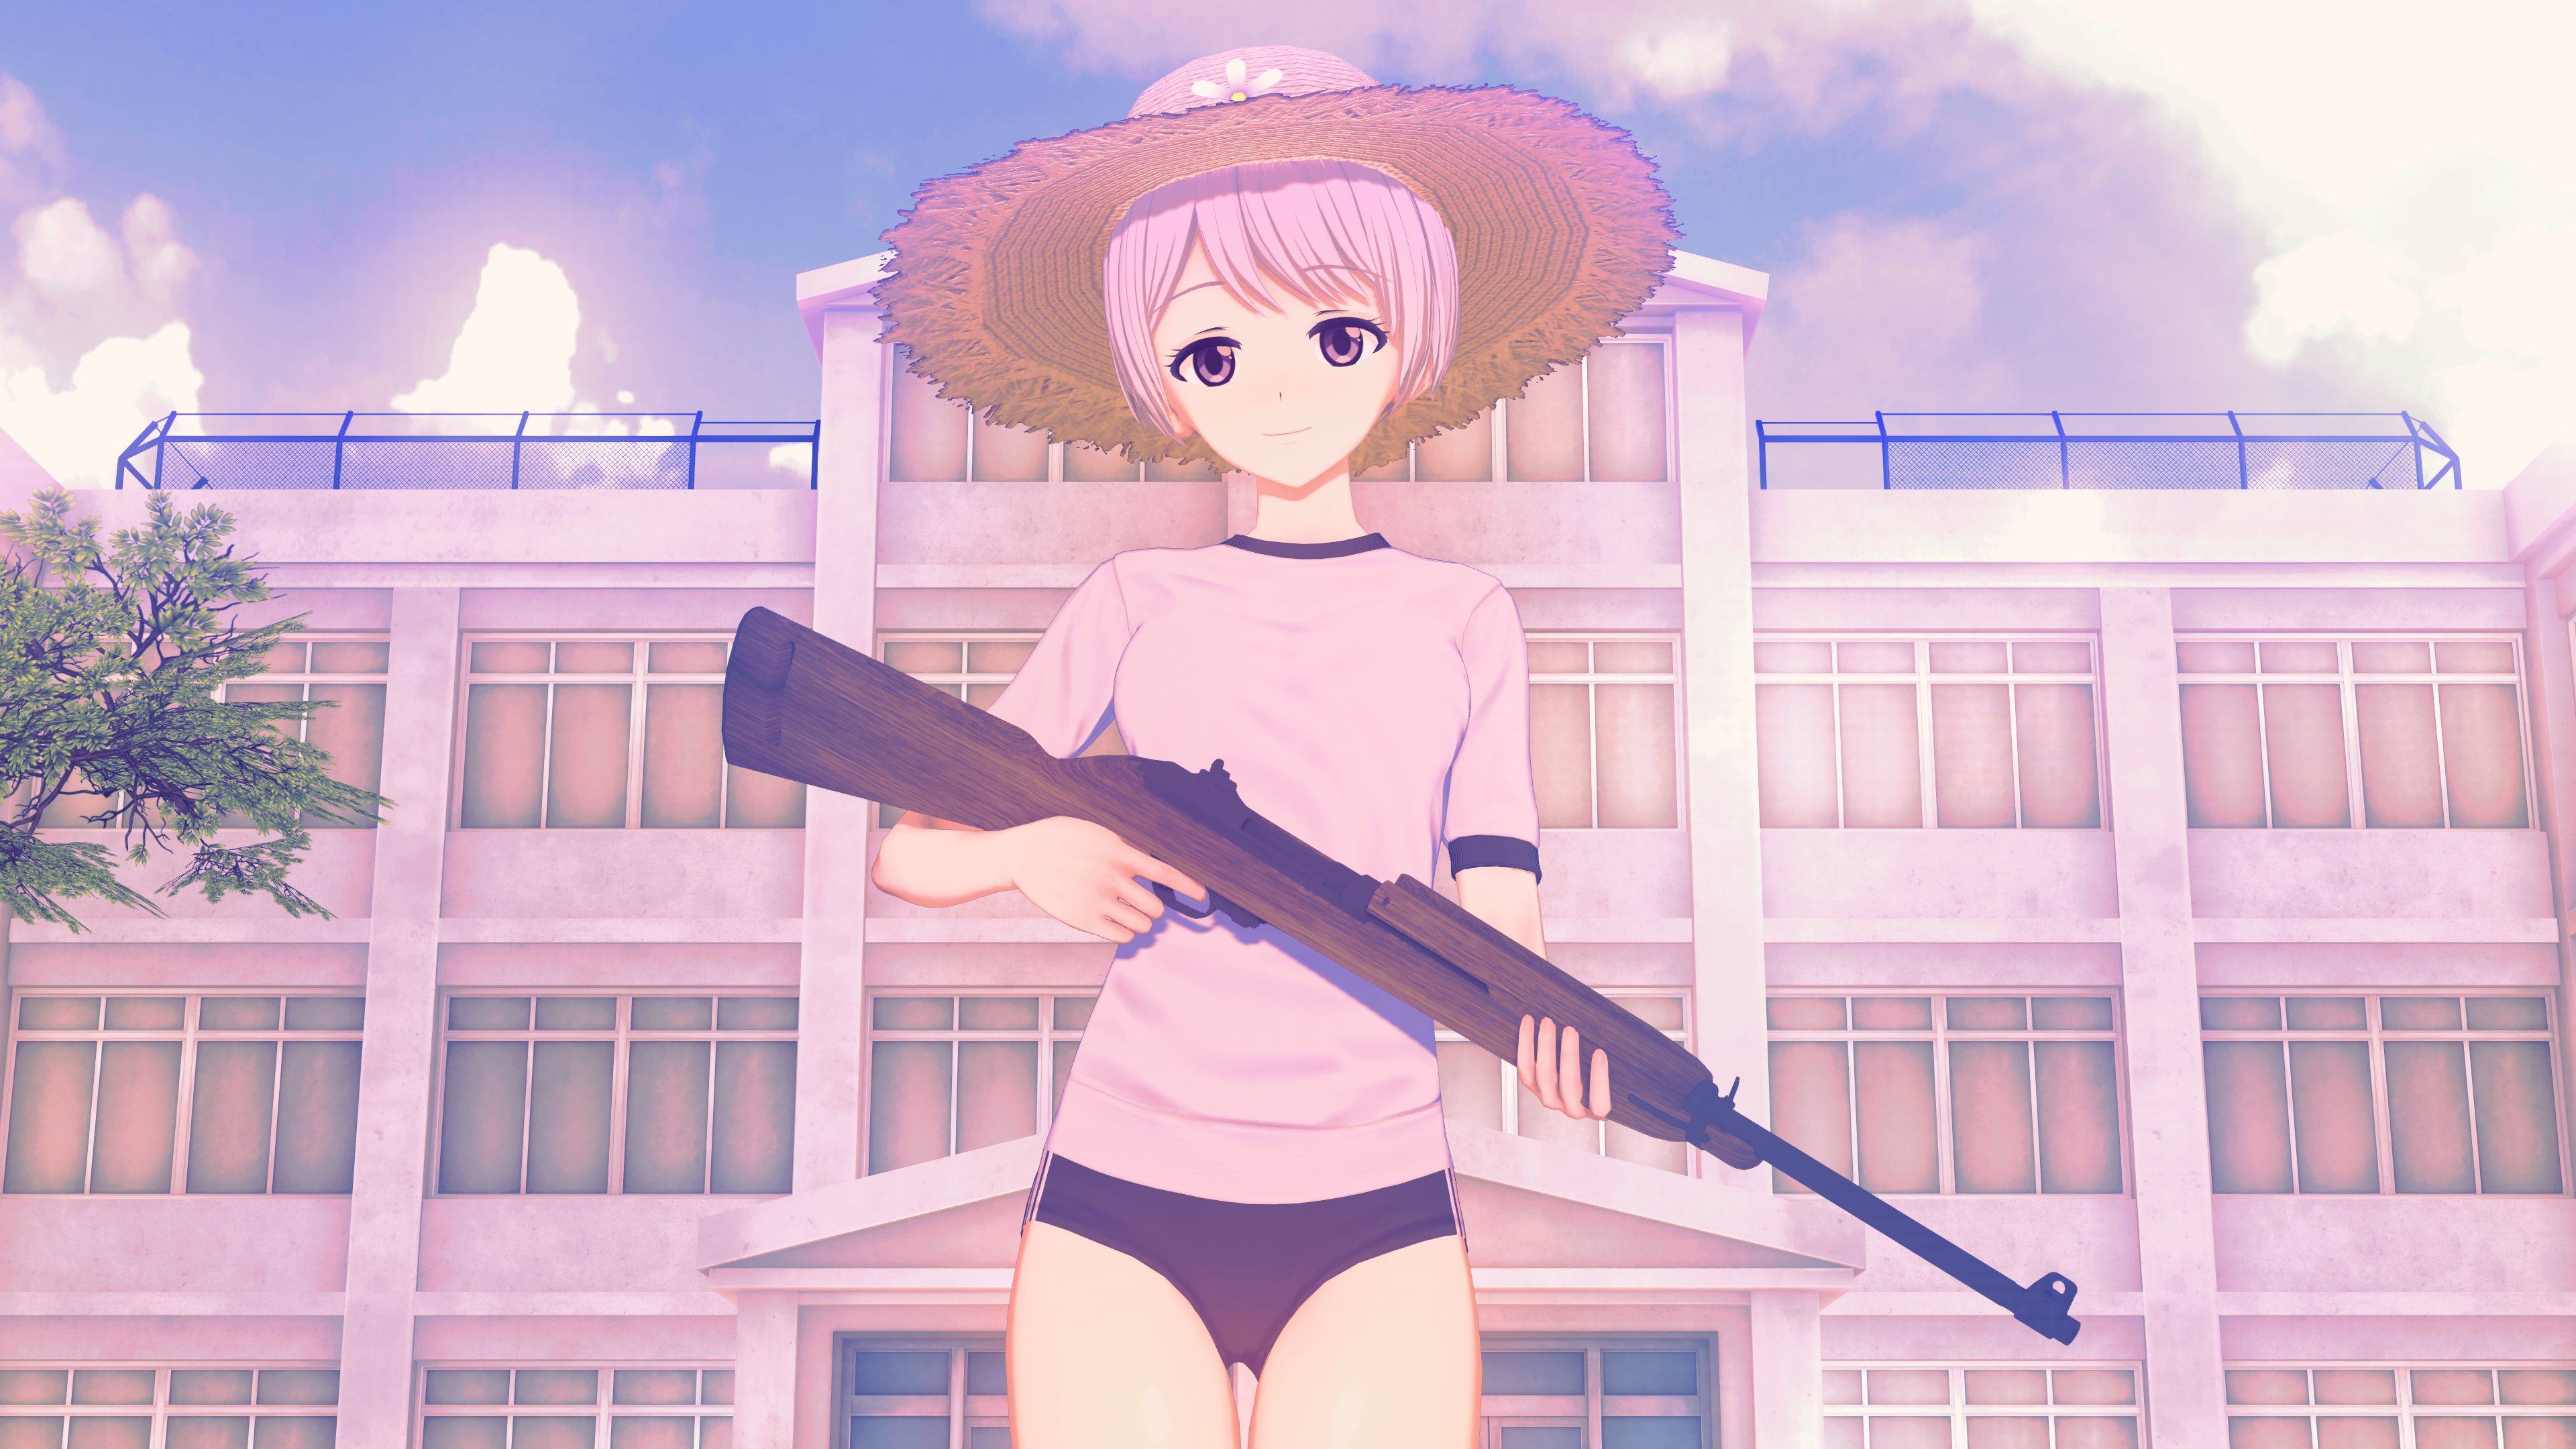
"Main" Camera
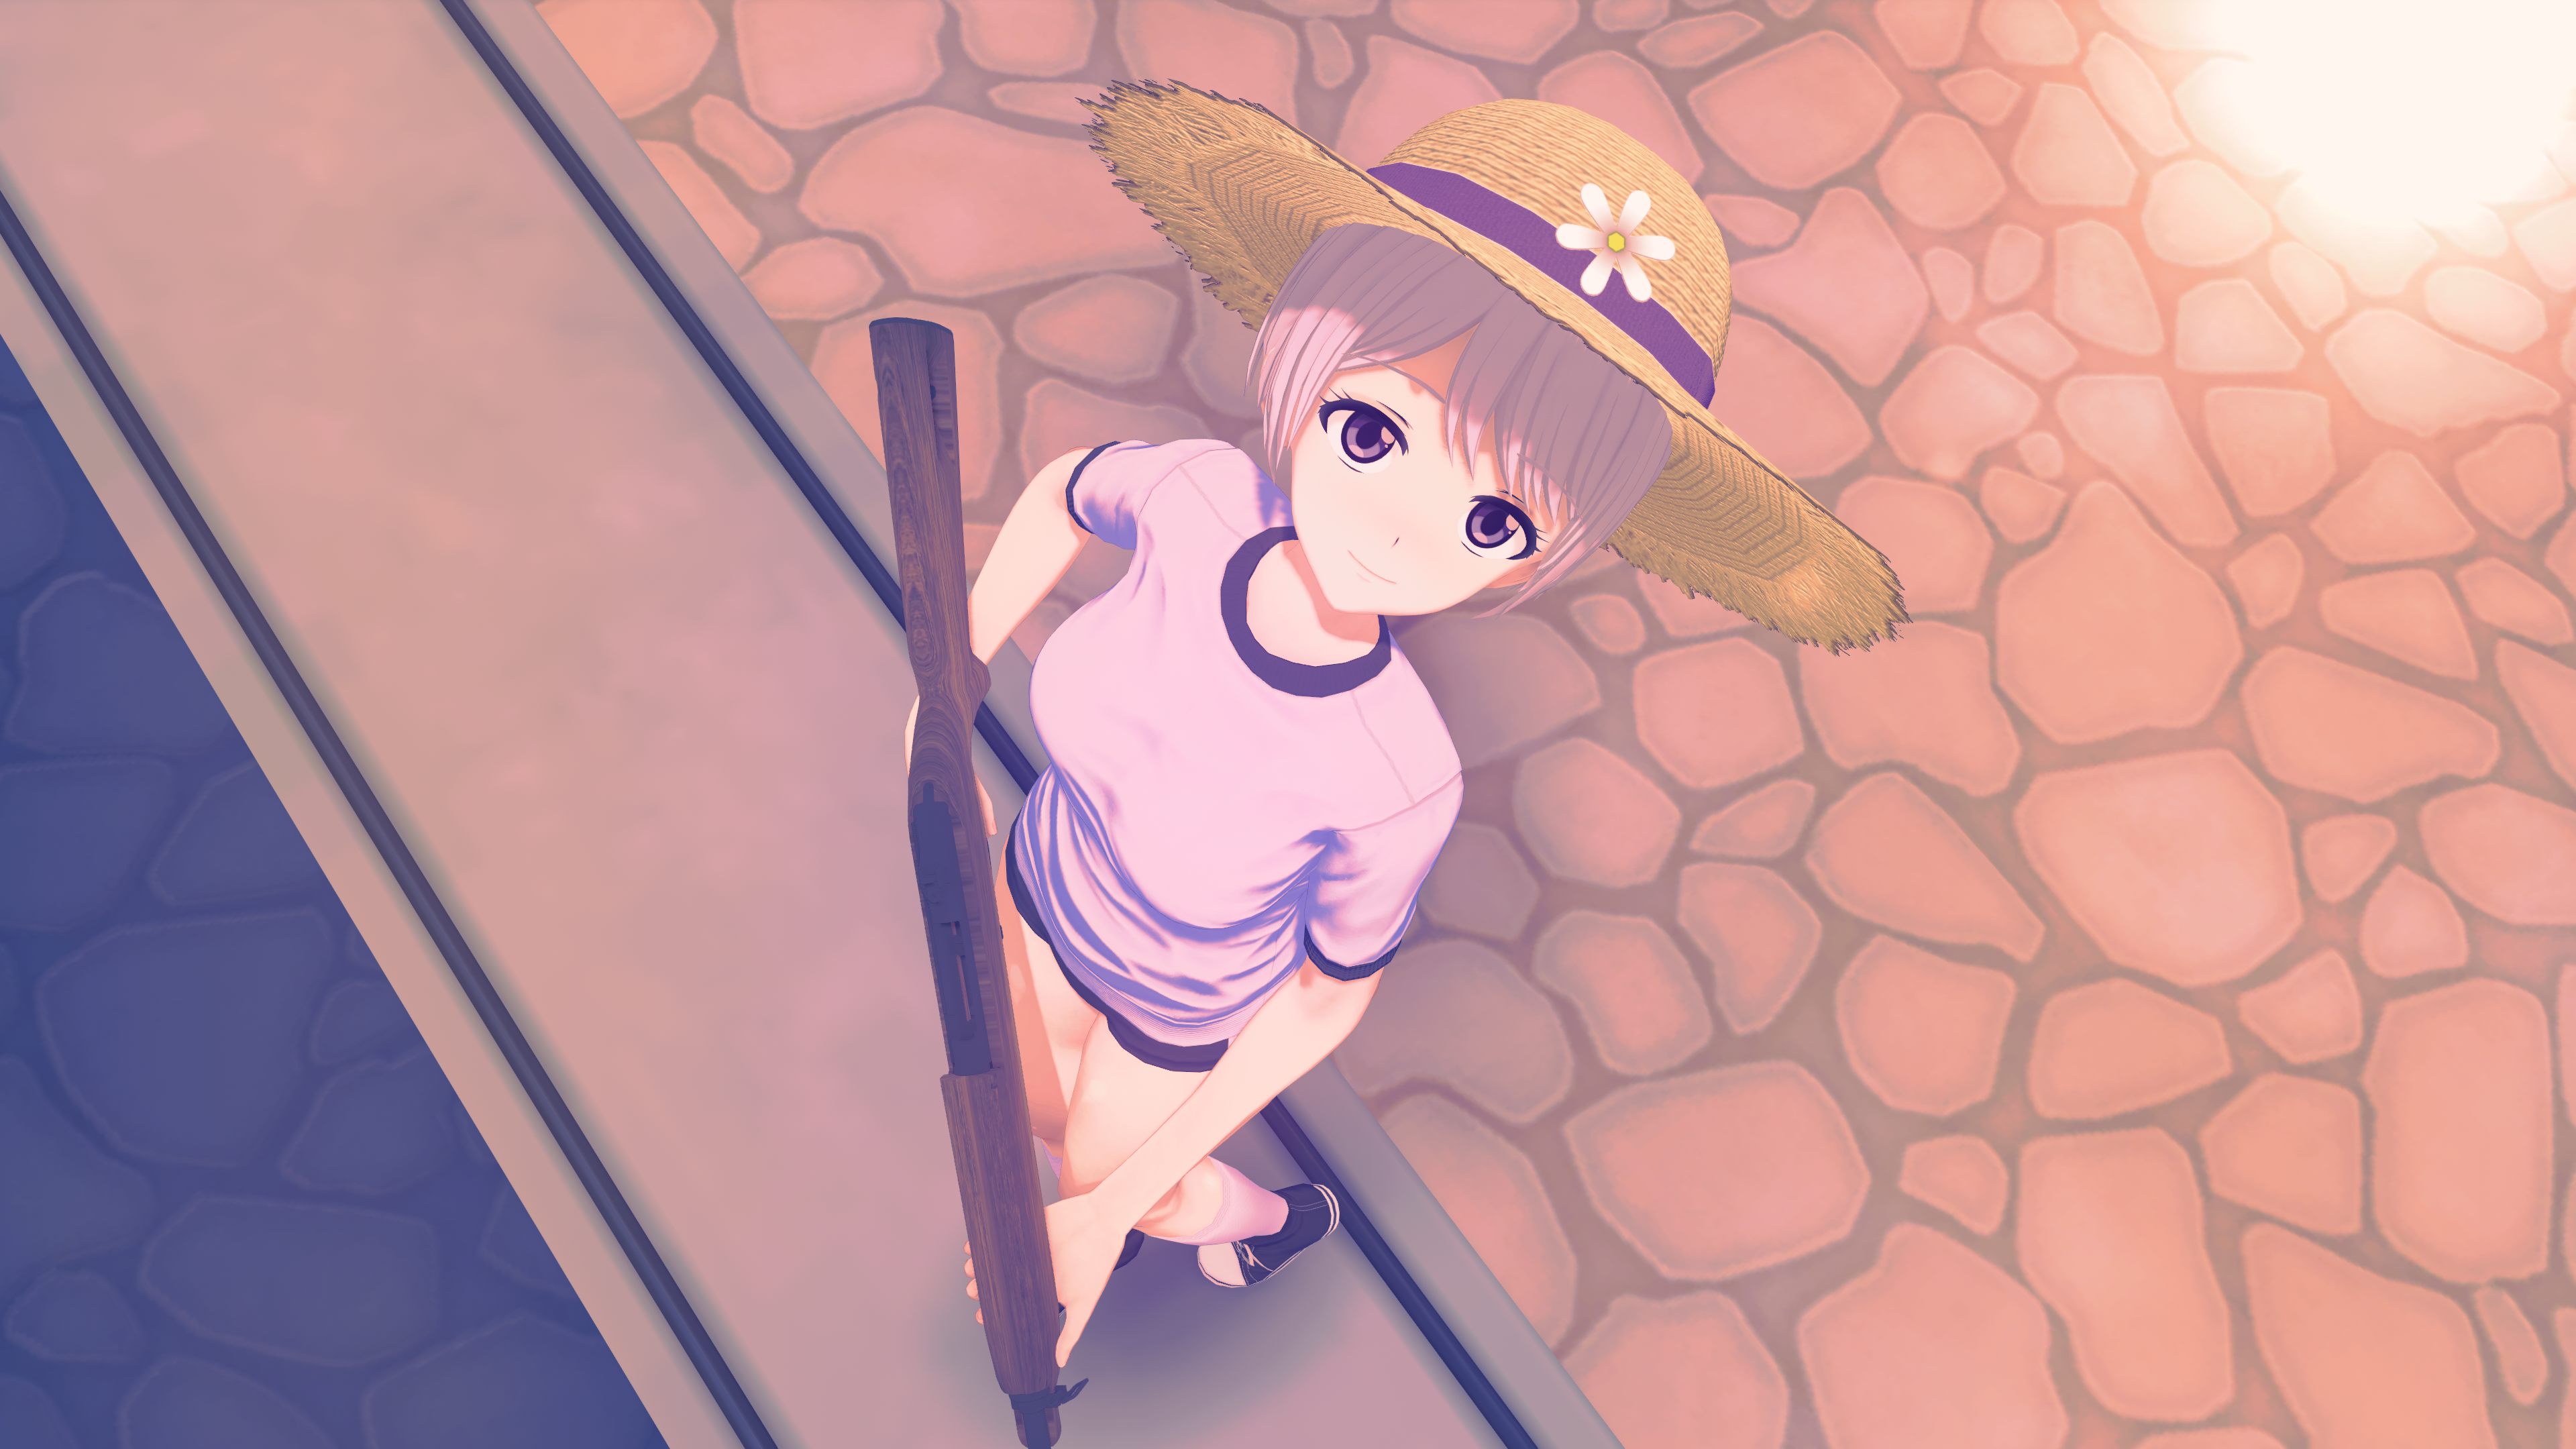
"From Above" Camera
"From Below" Camera
--- / ---
Workspace "General"
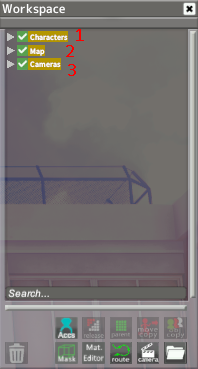
At first, "Workspace" will look like this in all scenes. The folder names are self-explanatory, but I'll do a description anyway.
1 - Folder containing all characters (male or female).
2 - Folder containing map elements, such as objects, shadows, light and sky.
3 - Folder containing all cameras and their effects, such as highlights, shadows and color filters.
The position and rotation of folders is always zero. The folders are relative to the center of the map, I've never changed them and I don't think there's any reason to change them. Think of these folders as the “base” of the scene, everything will be built around them.
Workspace "Characters"
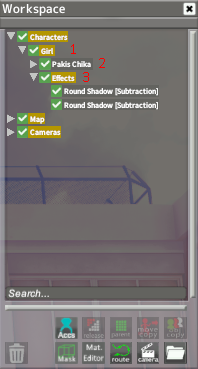
Opening the "Characters" folder...
1 - There is only one girl in this scene, so only one folder called "Girl", if there is more it will be like "Girl 1", "Girl 2", "Girl n". This folder can also be "Boy". Note that the name of the folder refers to the genre of the cards in the game. Another thing is about the position and rotation of this folder, if you want to change the position or rotation of the character, change on this folder.
2 - Character Card, I keep his position and rotation on zero. Objects attached to her body are also inside folders. In this case, you will find "Hat" attached to her Head and "Rifle" attached to her Hands. By default I always have these things open for viewing.
3 - Effects folder, static and relative to the character.
Workspace "Map"
Opening the "Map" folder...
1 - In this case there are only two folders, for skybox and map light. Most of the time I change the folder properties (position and rotation) as there is more than one thing inside these folders. A good example of this is: I am creating a boat using elements such as geometric shapes. In this case there will be a folder inside "Map" called "Boat" and inside will be the geometric shapes. Instead of moving each object to change the position of the boat, I'm going to change the position of the folder.
2 - Sometimes I change both the position and rotation of the folder and the position and rotation of the object.
Workspace "Cameras"
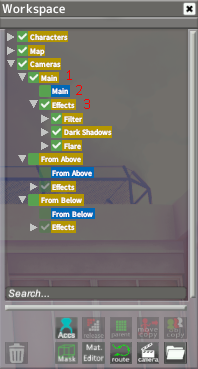
Opening the "Cameras" folder...
1 - Here are all the cameras in the scene. There is always a "Main" camera in my scenes and only one will be activated at a time. The position and rotation of the cameras are changed so that the real camera (Number 2) inherits the same properties, making it easier to adjust later.
2 - By default, the position and rotation will be zero. Don't use those cameras, use the Timeline, because those cameras don't capture the FOV.
3 - Effects like filters and shadows will be here, position and rotation of the folder always zero.
Timeline
Sometimes i use Timeline MOD to change camera automatically, just press play and see the magic!
1 - Camera changes
Yellow - Position, Rotation and FOV adjust to the "Main" Camera.
Orange - Position, Rotation and FOV adjust to the "From Above" Camera.
Red - Position, Rotation and FOV adjust to the "From Below" Camera.
2 - Folders inside "Cameras" changes
The green keyframe represents True value.
The red keyframe represents False value.
With this, the effects of each camera can be displayed automatically.
--- / ---
An Animated Scene is pretty much the same as a Normal Scene, but we have some new folders in the "Characters" section.
The folder named "Node" is the one that will be used in NodeConstraints in relation to the upper folder that will be moved in the Timeline MOD. You can use "Node" folders to adjust movement with different characters!
--- / ---
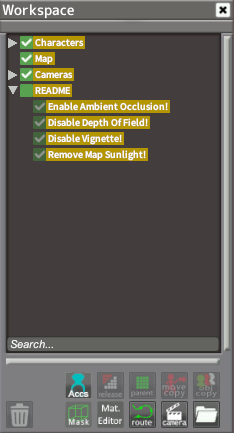
There is always a folder called README at the bottom of the Workspace, there will be options you need to follow to configure the scene settings correctly.
Some of them are listed below.
--- / ---
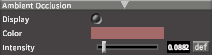
Ambient Occlusion
For some reason, scenes are loaded with this option turned off, turn it ON!
If the README folder say to it.
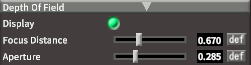
Depth Of Field
For some reason, scenes are loaded with this option turned on, turn it OFF!
If the README folder say to it.
Vignette
For some reason, scenes are loaded with this option turned on, turn it OFF!
If the README folder say to it.
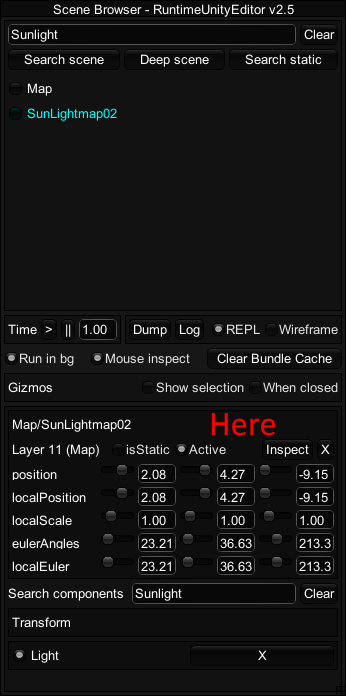
Map Light (Sunlight)
Sometimes I turn off the sunlight and use my own light. Turn it off.
If the README folder say to it.


![[M]Alice](https://nokimo.com/istorage/96453.jpg)


