Character Creation: Velle
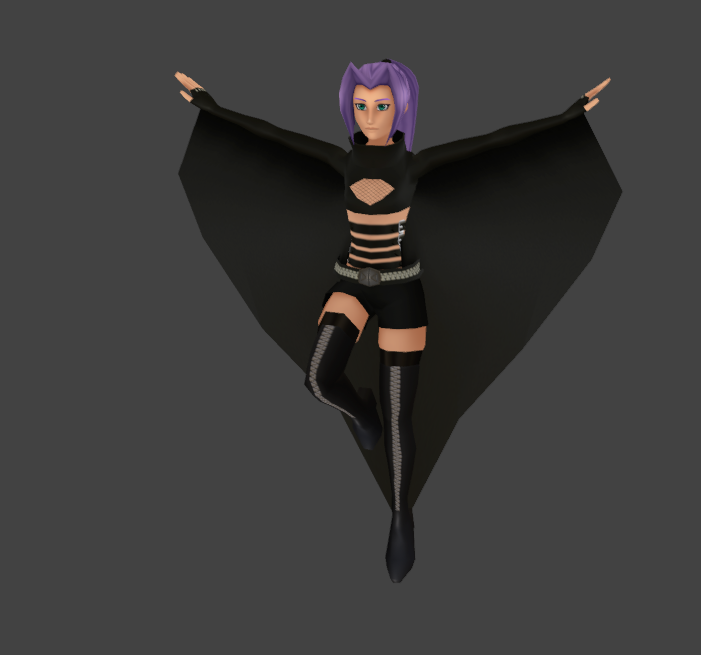
Added 2022-09-13 01:25:53 +0000 UTCI've been spending the past few months working on the second playable character for Blood Crisis: Velle!

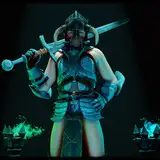
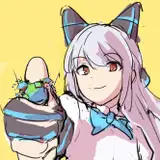
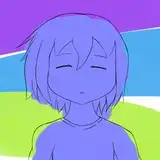
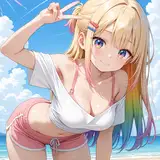
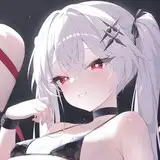
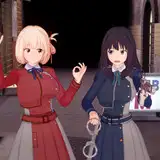
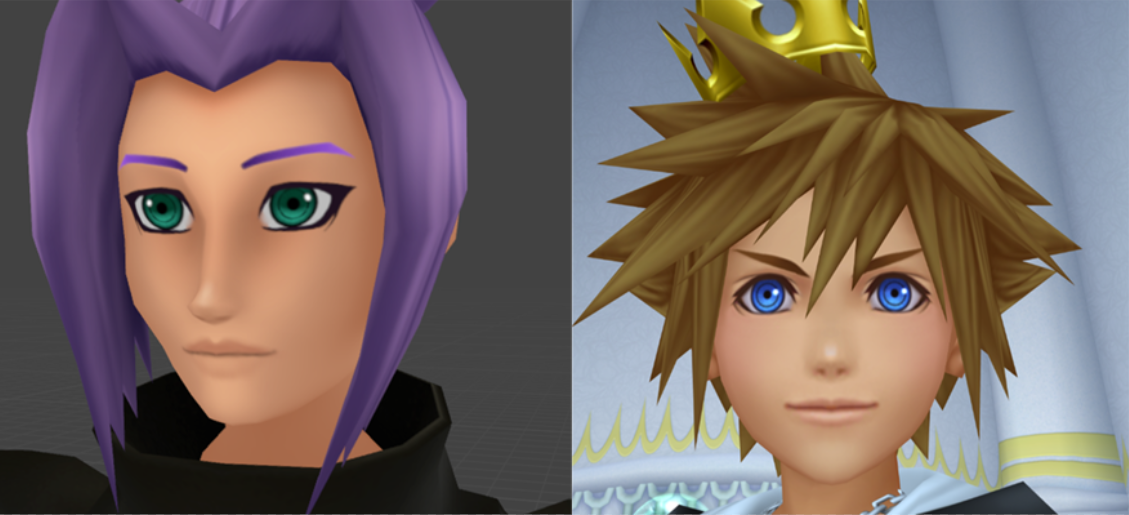
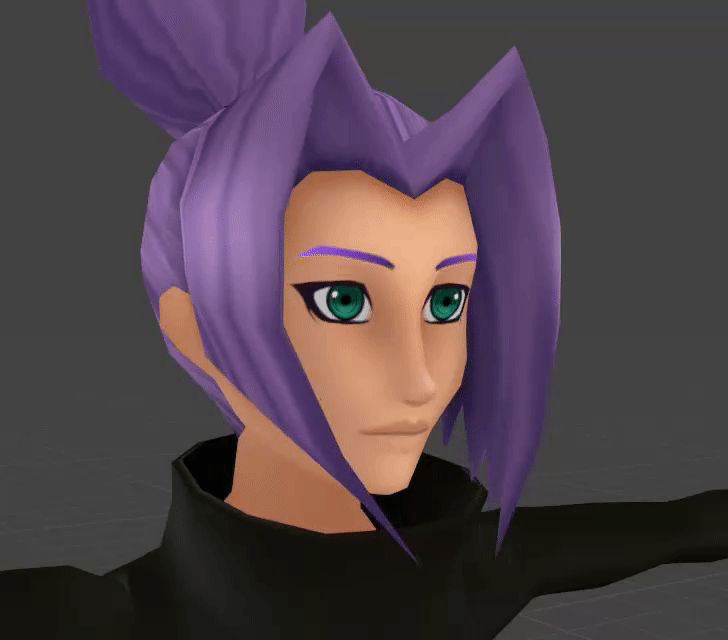
As you can probably tell, Blood Crisis' artystyle is heavily influenced by the artwork of Tetsuya Nomura, specifically from Kingdom Hearts. It took a lot of love and effort to replicate the style, but I think I nailed it! This was actually the first concept for Velle:
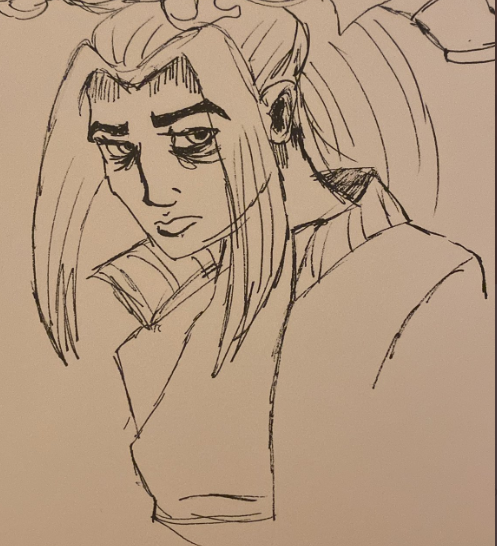
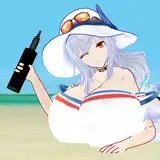
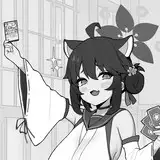
As you can see, the art style was quite different initially. After a LOT of drawing and refining how the characters should look, I arrived at this drawing:

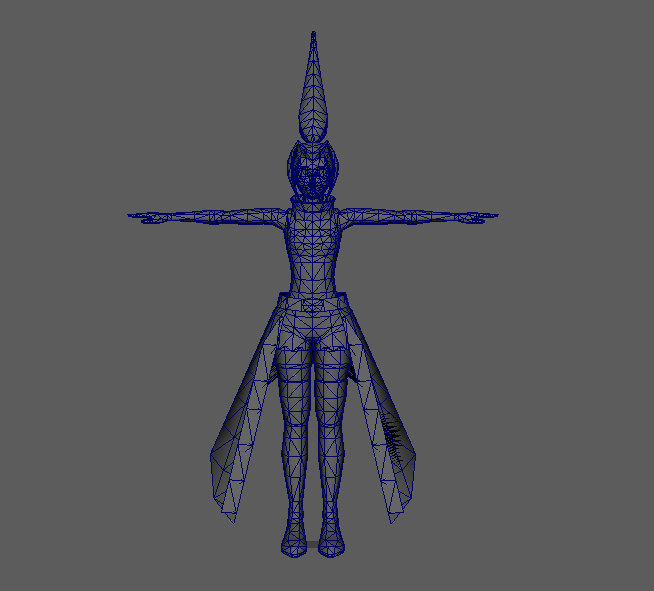
I liked it quite a bit, so much so that I did something I rarely do: I modeled from scratch, without drawing a reference sheet first. This is awful practice, but I was struck by inspiration and her model actually turned out great!
One of the most important parts of nailing the "Kingdom Hearts" look is the textures, and of all the work I've done on this character, the textures are probably what I'm most proud of.
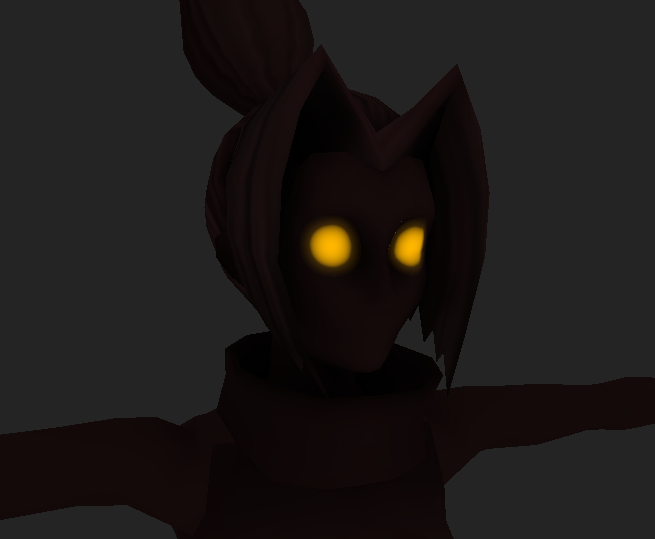
The majority of Velle's textures have been created procedurally, meaning I can change the color of almost anything without having to re-draw anything by hand.
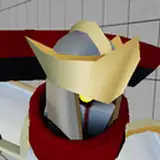
For example, here's a quick test I did of a "Dark Velle", akin to Dark Link from the Legend of Zelda, or the Dark variants of Sora from Kingdom Hearts 1.
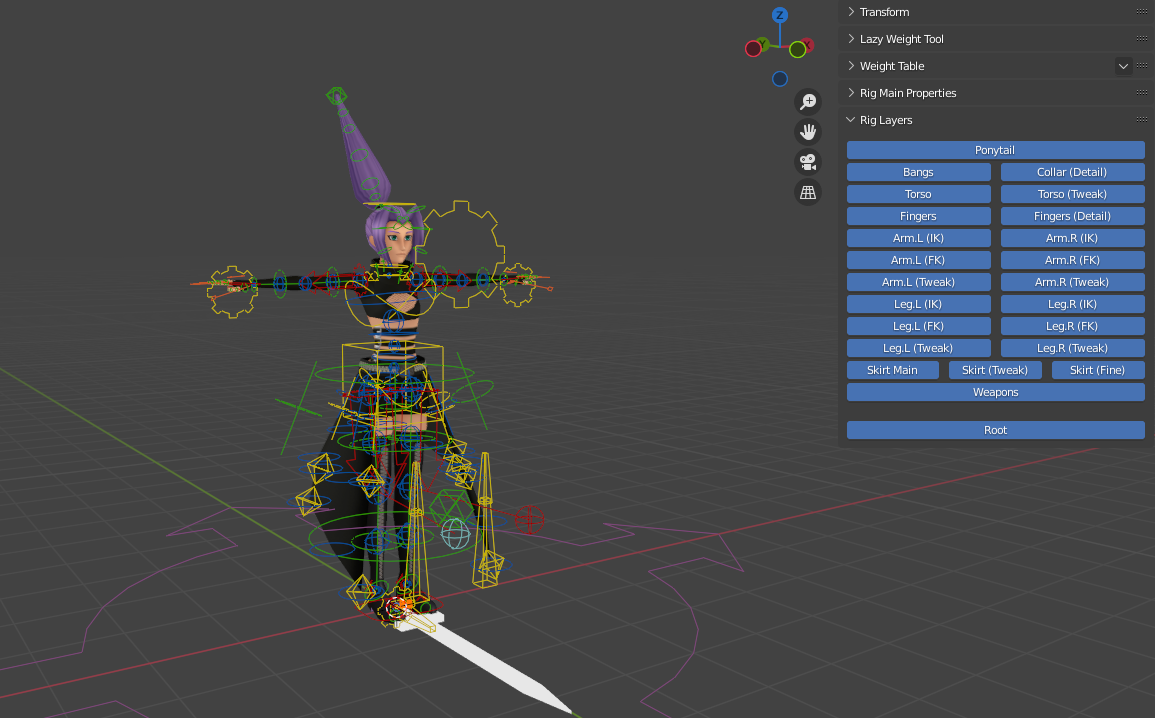
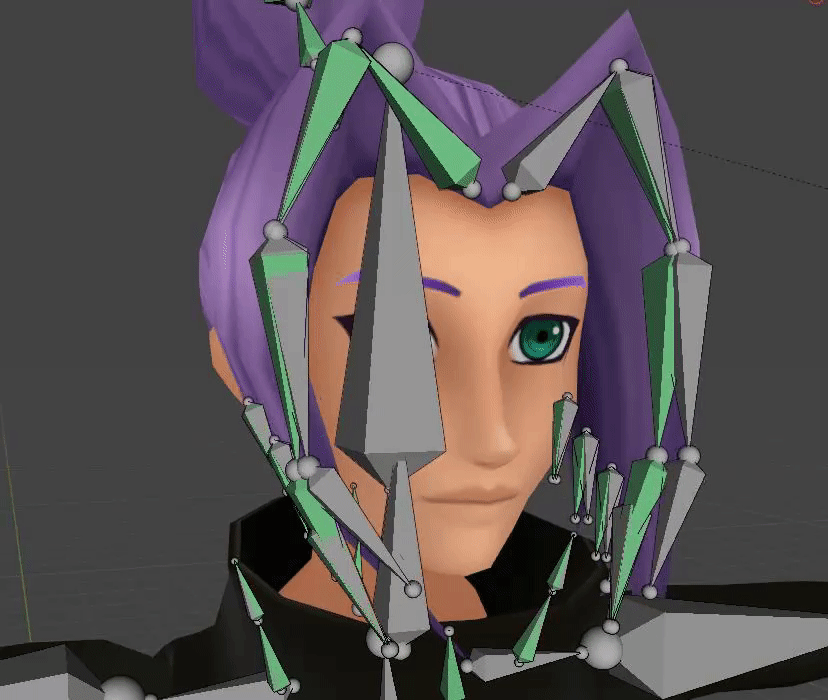
The next step is rigging, which is sadly many people's least favorite part of character creation. I actually like rigging quite a bit! I use a free add-on that comes packaged with blender called Rigify. Rigify is extremely powerful and versatile, and is capable of generating a very detailed rig from scratch, but also has the added ability to integrate custom rigging into the final output, meaning I can create controllers essentially from scratch, without having to create intermediate bones by hand every single time.
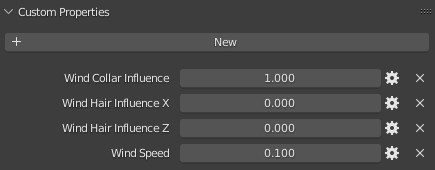
Using this system, I created a dynamic wind effect for Velle's hair and collar that can be toggled on and off, and all the values can be adjusted individually.
What makes this system really powerful is that it's all driven by math, not keyframes, so all the data for the movement is stored in 4 keyable sliders, and the hair can be moved and keyed in whichever position without ruining the movement of the wind.
Accomplishing this is actually relatively easy. I simply created a driver for the rotation of each bone in the hair chain, and used a sine wave expression to make the hair "wiggle" back and forth. I then copied the chain, and added a transform constraint to the copied bones, so that the influence could be toggled on/off smoothly. Essentially, there's a set of bones that are *always* blowing in the wind, which don't affect the mesh, and then a second set of identical bones which do not blow in the wind, and the user can control how much influence the "wind bones" have on the control bones.
Now, aside from the hair, there's only one other part of this rig that's complex....the skirt. This fucking skirt was a NIGHTMARE to rig, and that's for a few reasons.
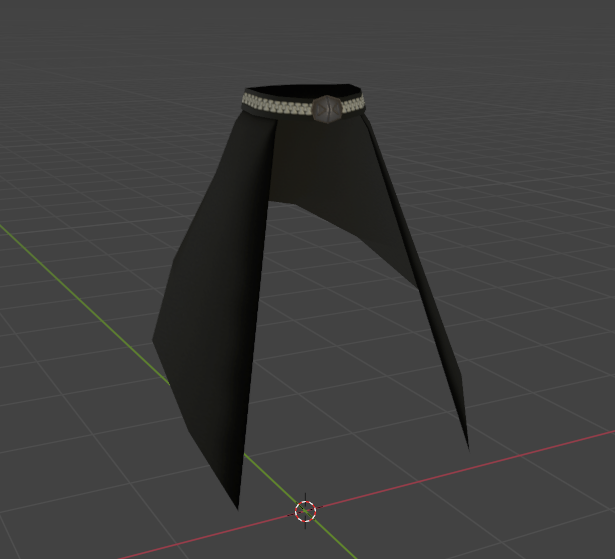
The first, and probably most obvious reason is the shape. It's a very, very weird shape. A large part of the challenge was simply figuring out *how* to tackle this thing. I had a few early designs that gave me the amount of control I needed on a bone-to-bone basis, but trying to animate the skirt as a whole was incredibly tedious.
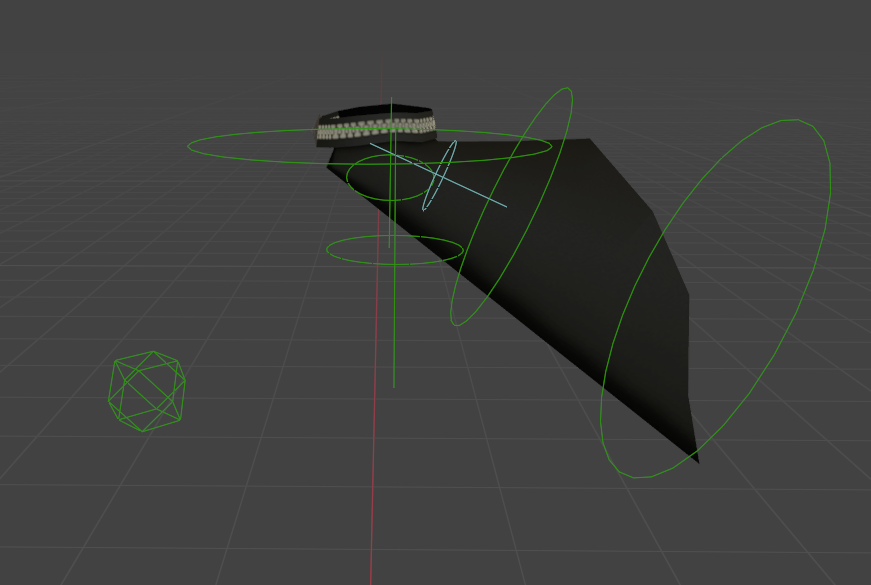
I needed to create a way to control the entire skirt at once, while still being able to control each individual piece respectively. To accomplish this, I set up three different control systems. One for the overall shape of the skirt, one for the "poof", and one for fine control of individual bones.
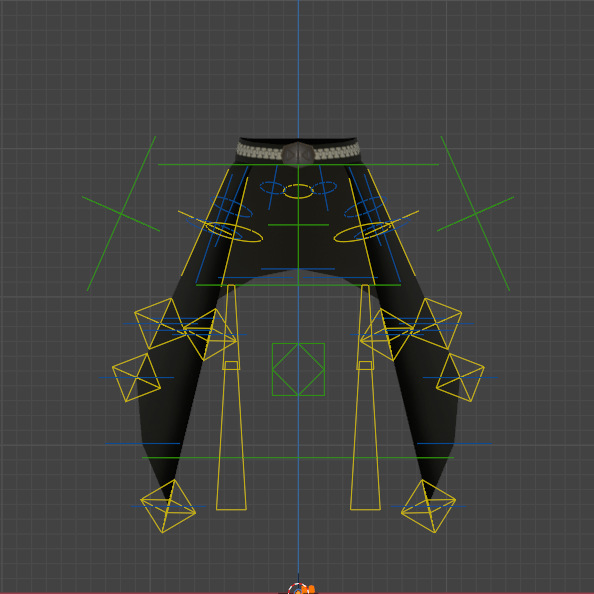
The main system (green) allows me to control the which direction the skirt is facing. It has control over the left and right sides independently as well as a controller for the entire skirt. Rather than using a direct parenting relationship, the bones are constrained to point in any give direction, as to avoid unwanted folding of the geometry.
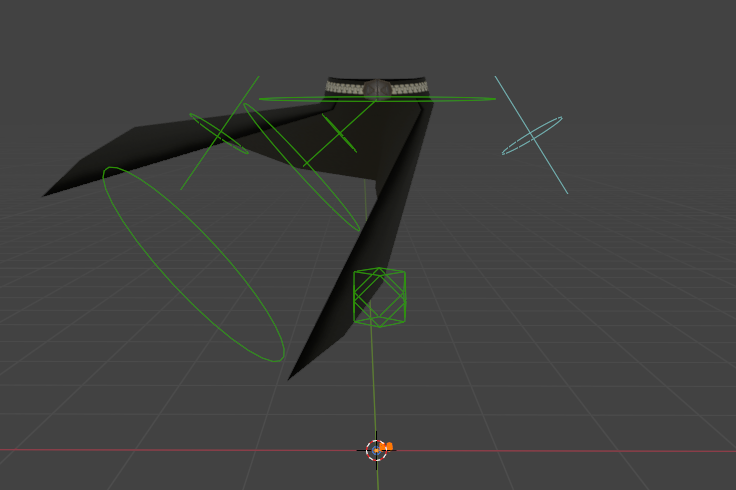
Notice how the waistband stays in place?
The next layer (yellow) controls what I call the "poof" of the skirt. There are two rings of bones that follow the lowermost and middle edge loops. The line-and-circle controllers near the top allow the control of the entire down-chain, and each has a small amount of influence over neighboring bones to allow for smoother curves with fewer keyframes.

There are additionally two sets of bones to control *all* the poof controllers on their respective sides.
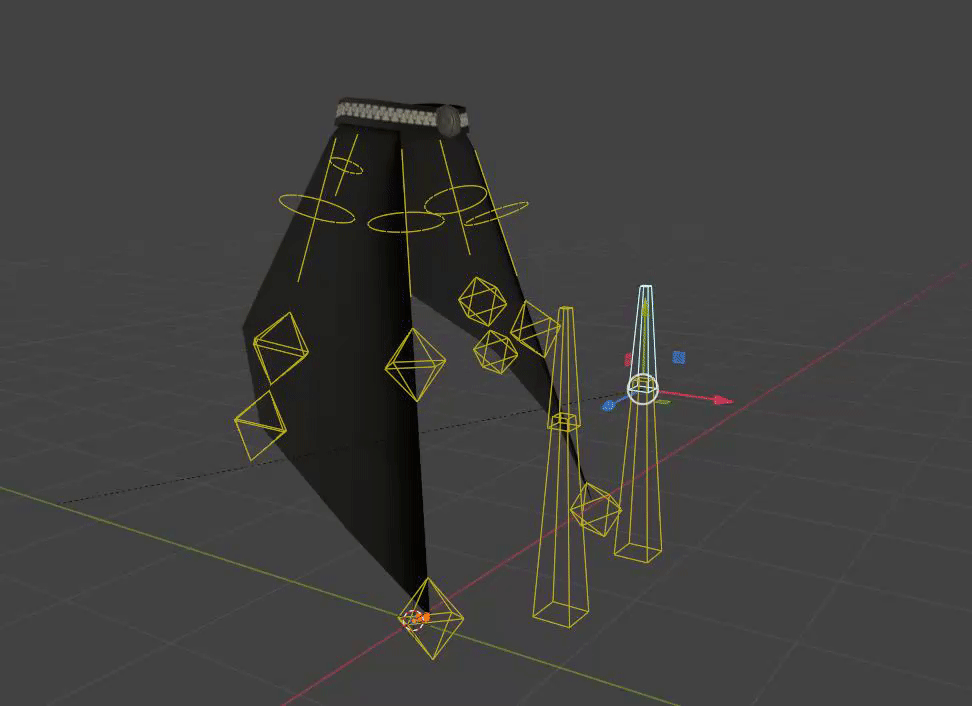
The last, and most simple layer (blue) allows for finite control over specific parts of the mesh, without influencing other neighboring connections. With all of these controllers combined, I'm able to create some pretty crazy shapes with the skirt using only a few controllers.
That's all for today!! My next big chunk of work is going to be animating and getting their character controller working properly in UE5. Next step: COMBOS!!!!
Comments
I'm super hyped to show people some gameplay, but that's still probably a few months away. It's my next step though!
2022-09-13 01:48:25 +0000 UTCgenuinely so proud of u and how much good work youre putting into this, it shows
poko
2022-09-13 01:44:44 +0000 UTCThank you!!! Aaaaa!!!!
2022-09-13 01:43:11 +0000 UTCthis is so cool
poko
2022-09-13 01:40:25 +0000 UTC